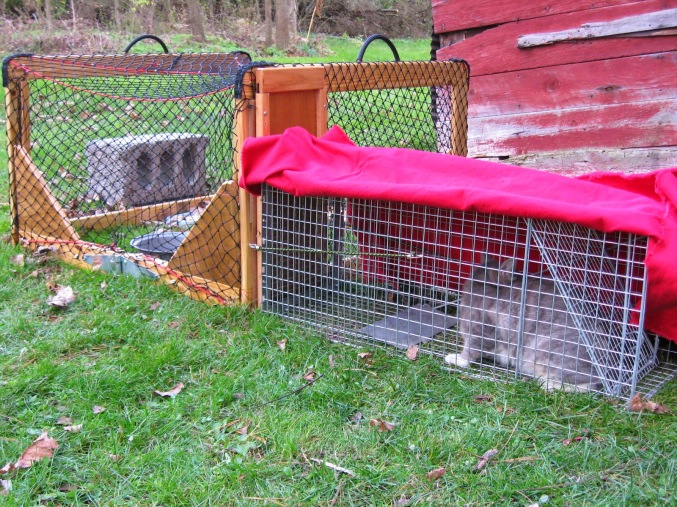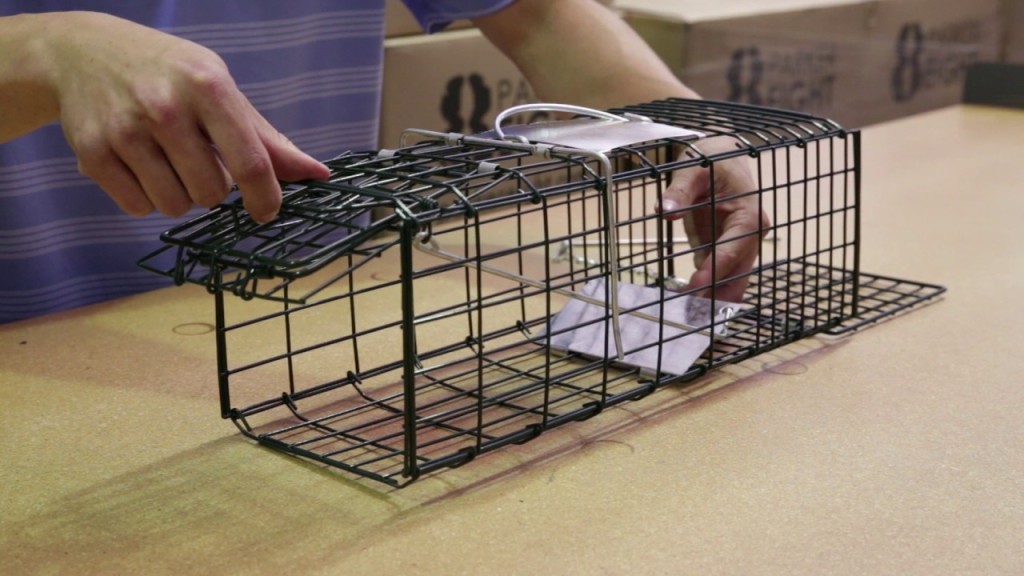
It’s Conservation Week from the fourteenth – 22nd of October. You can get included by ensuring the local species in your neighborhood with a terrace trap. We’ve discussed how to trap in your terrace, and how to manufacture a catching passage, and now we will share a few hints for getting the most out of your patio trap.
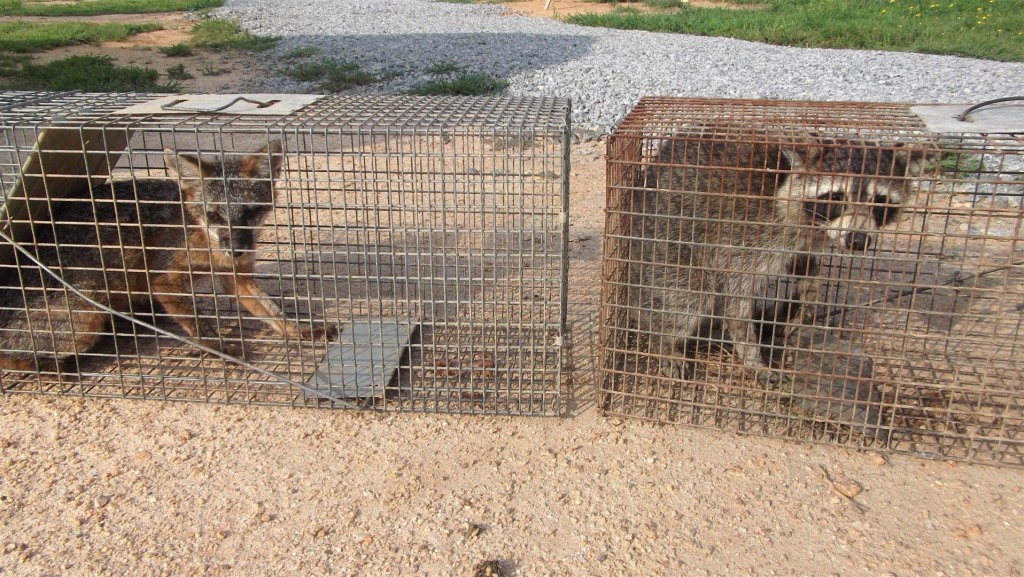
Here at DOC we’ve been catching rats and mice for a long time, so we know some things about how to get them. Here are our best tips for patio catching.
1. Pick the best bait
This is a broadly debated issue, with a few trappers swearing by great old nutty spread, while others purchase rat draw from pro retailers.
Scientists at Victoria University of Wellington have put the distinctive goads under a magnifying glass and found that stock-standard nutty spread may not generally be the best wager. They discovered wild rats favor cheddar, drain chocolate, Nutella and walnuts to your standard nutty spread.
2. Offer some ‘Free’ bait
Put a touch of ‘free’ nutty spread in the passage (the wooden box that you put your traps inside) before the trap – this empowers the rats and mice in. It pulls in more rodents as well, as they’ll come back to their home with the principal pull of nutty spread, and after that take their family back to the trap for additional.

3. Put your trap in a prime area
It may entice to put your trap smack strike into the center of your garden, where definitely the most rats and mice will hasten. This isn’t really the best position, however, as rodents have a tendency to evade enormous open spaces.
Rats and mice want to run near dividers, plants and fences where they’re avoided sharp feline eyes. So the best place for your terrace trap is next to a divider or fence where the rats may run.
4. And if the first location fails, try again
On the off chance that you don’t have a divider/fence to put your trap next to, or you’re not getting much, consider where in your garden the rats and mice may hang out.
Rodents will be pulled in to places where they can discover sustenance and water. In the event that you have a manure store or trees that drop the natural product on the ground your inhabitant rats will most likely be investing some energy there, so’s a decent spot for your trap. Another great place is close to a conduit in the event that you have one as rats and mice tend to keep running nearby streams and brooks.
5. Get your neighbors included
On the off chance that you achieve a catching level and quit getting the same number of rats and mice as you used to, it could be on account of they’ve cottoned on to that reality that your yard isn’t protected. They could be looking for the haven in properties adjacent rather, so getting your neighbors engaged with catching will help guarantee your whole neighborhood is secured.